
Google Docs (google.com/docs/about) has evolved to the point where it is a viable alternative to desktop word processors (see 10 Reasons to Love Google Docs and 6 Tips for Writing Your Thesis in Google Docs). It works completely in the cloud, so that you can access your documents from anywhere, on any device, even without an Internet connection. Documents are easily shared and editable by multiple people simultaneously. In addition, an increasing number of add-on tools make Google Docs an even more powerful solution for writing research papers. This post discusses some of the tools and add-ons that will help you write your research paper using Google Docs.
See also the Introduction to Google Drive and Google Apps.
The Google Docs Research Tool
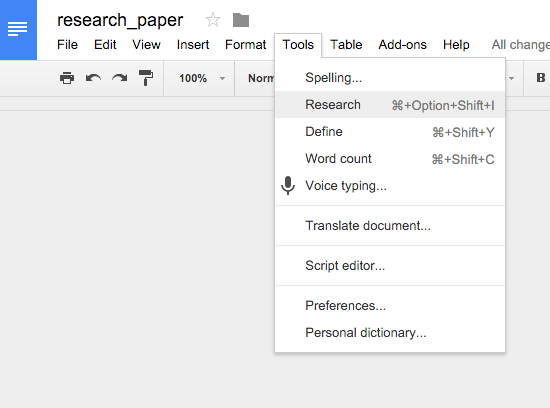
While editing your paper in Google Docs, click the Tools menu, then Research:
This will bring up a Research panel along the right-hand edge of your browser window:
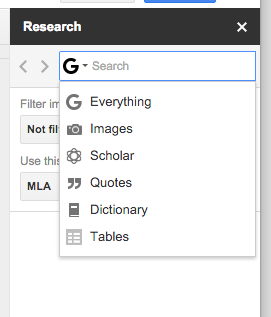
The Research Tool lets you conduct internet research and incorporate the results into your document, without having to leave Google Docs.
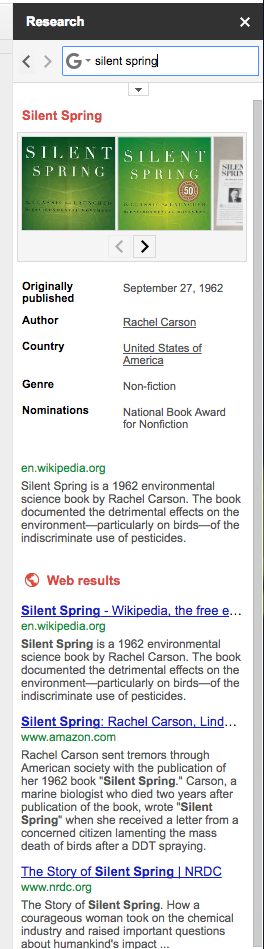
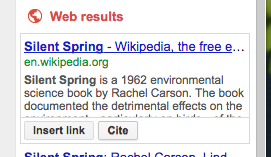
If we were writing a paper about environmental pollution, for example, we could search the web by choosing Everything from the drop-down menu. Typing in the name of a book, say Silent Spring, brings up some information on that publication, as well as links to relevant web pages.
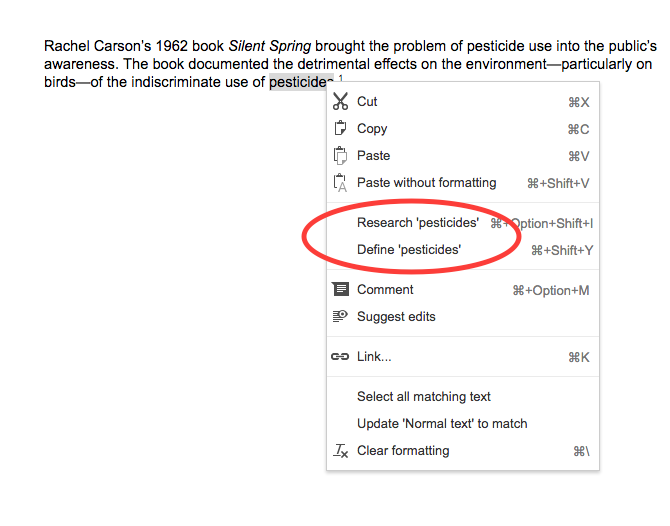
You can also highlight some text in your document, and then click on Tools|Research, and your search will be done with the selected text as the search criteria.
This can also be accomplished by right-clicking on highlighted text, and then choosing Research from the popup menu. You also have the option to define the highlighted text:
If you use information from a web source in your paper, you can cite the source by hovering your mouse cursor over the source and clicking Cite:
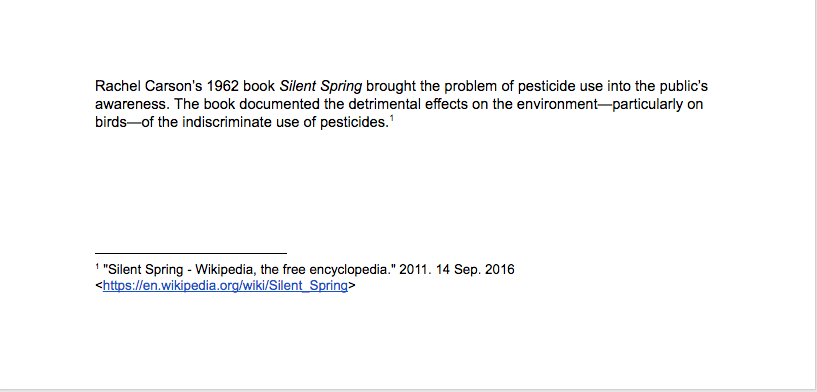
This will insert a numbered superscript into your text at the current cursor location, and the corresponding footnote at the bottom of the page:
If instead of Everything, you search for Images, your search results will consist of a series of images that are relevant to your search terms. You can filter the search so that you only retrieve images that are free to use:
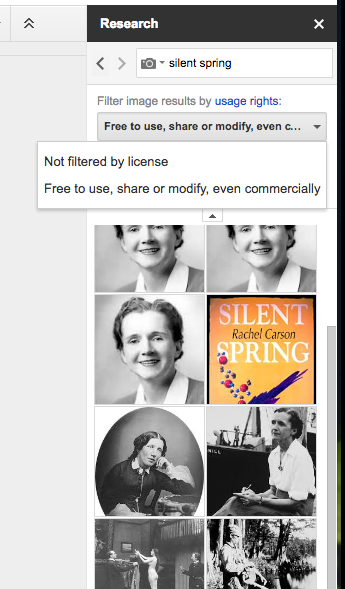
If you hover your mouse cursor over an image in the results panel, you will see the internet source of the image. Dragging an image from the results panel onto your document will insert the image along with a footnote that documents the source:
![]()
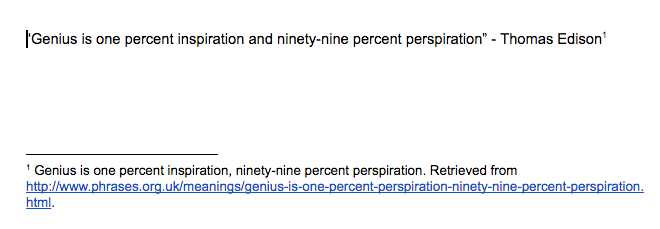
You can also search the internet for quotes. For example, to search for quotes by Thomas Edison, enter his name into the Research Tool, and then choose to search for Quotes:
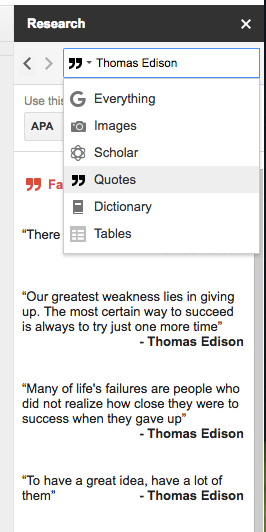
If you hover your mouse cursor over a quote in the results panel, the source of the quote will be revealed, along with the option to find other sources of the same quote. You can insert a quote into your document by hovering over the quote and clicking the Insert button. The quote will be inserted along with an appropriate footnote to indicate the source:
The Research Tool also allows you to search Google Scholar. Rather than searching the entire web, Google Scholar searches academic publishers, universities, and other sources for peer-reviewed articles, academic theses and books, technical reports, and other scholarly publications. It is important to understand that Google Scholar is not a bibliographic database like those found in college and university libraries. Such databases are subscription-based resources that search for peer-reviewed articles that have been published in academic journals. Bibliographic databases also contain more recent articles than can be found in Google Scholar and have more powerful search functionality than Google Scholar.
Nevertheless, Google Scholar can be a useful tool when writing a research paper in Google Docs. In the Research Tool, choose Google Scholar from the drop-down menu and type in a search term:
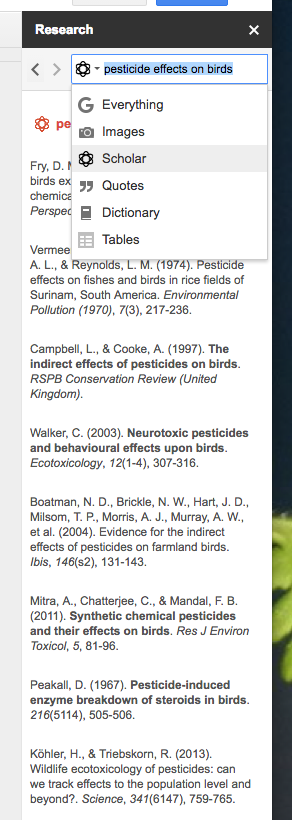
The result is a list of scholarly articles. By hovering your mouse cursor over an article, you can either insert the complete citation or insert a numbered superscript at the current cursor location with a corresponding footnote. The Research Tool lets you choose from three citation styles for footnotes: MLA (Modern Language Association), APA (American Psychological Association), and Chicago (University of Chicago Manual of Style).
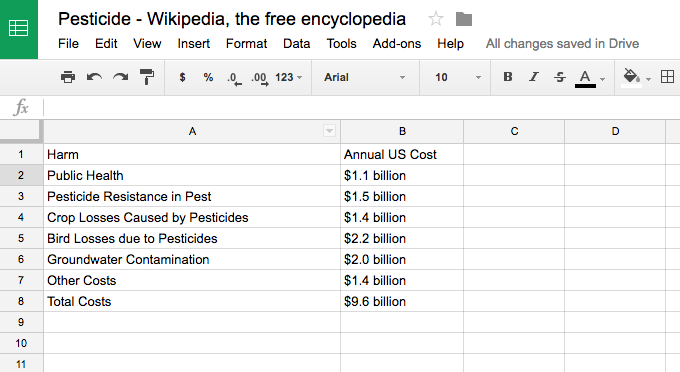
Lastly, the Research Tool allows you to search for, cite, and import tables of data found on the web. From the Research Tool dropdown menu, choose Tables, and then enter a search term:
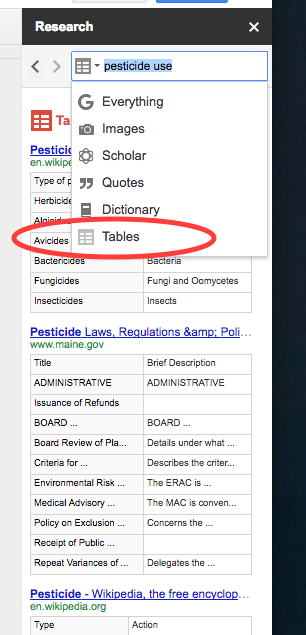
The Research Tool will find tables of data that match the search criteria. Clicking the link for a table will bring you to the website that contains the table. When you hover your mouse cursor over a table in the Table Search results panel, you will have the option of either citing the table or exporting the table’s data to a spreadsheet. Citing the table inserts a numbered superscript into your text at the current cursor location and a corresponding footnote containing the source of the table. Clicking Export lets you either export the table to a Google Sheet (spreadsheet) or to a Google Fusion Table (a more powerful type of spreadsheet with additional data managment and visualization tools). Most of the time you either want to paste the table into your document or create a graphic based on the table data to use in your document. Exporting the table to a Google Sheet will let you accomplish both tasks.
When you successfully export the table, the result will look similar to this:
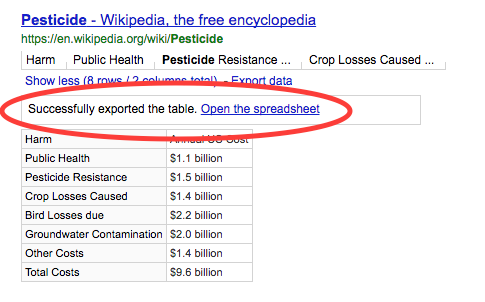
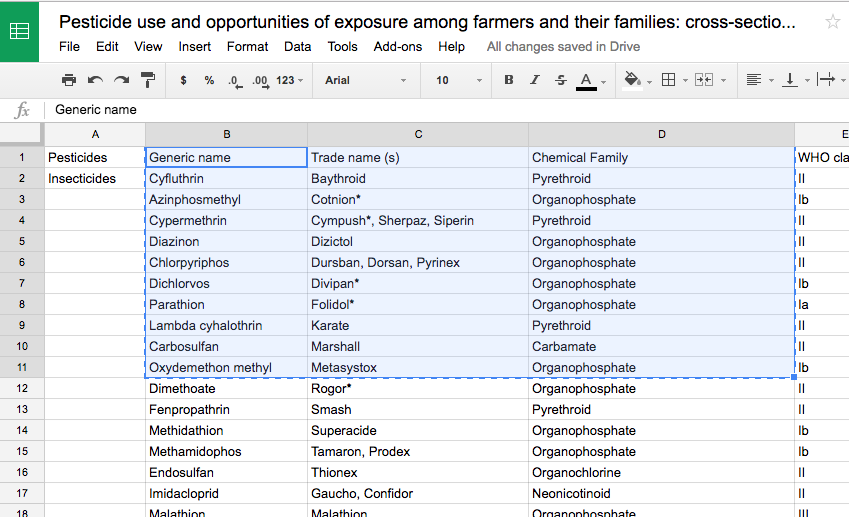
When you click the link to open the spreadsheet, you will be shown the Google Sheet containing the table data:
From the spreadsheet you can copy and paste data into your Google document. . . .
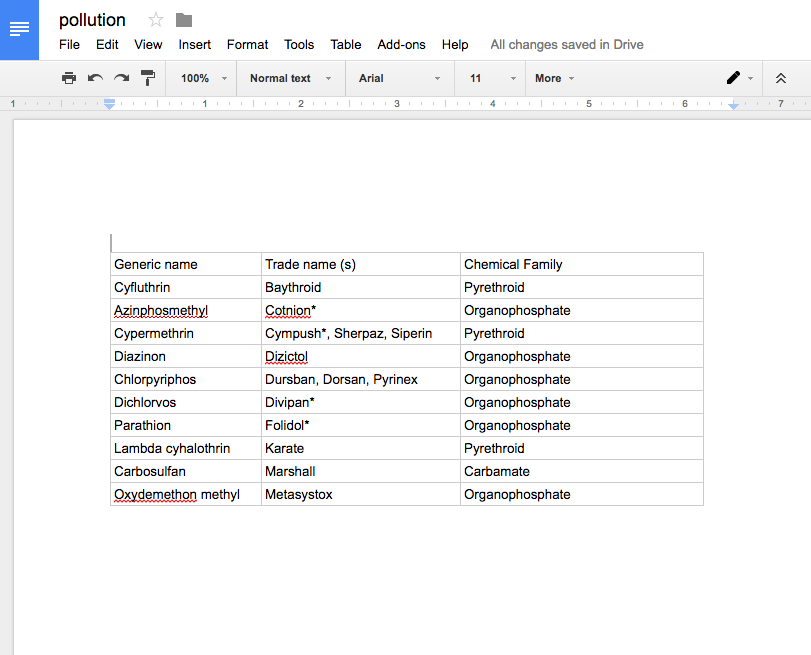
. . . . and it will be formatted as a table:
From the Google Sheet you can also process the data further, perhaps to generate a graphic for your paper:
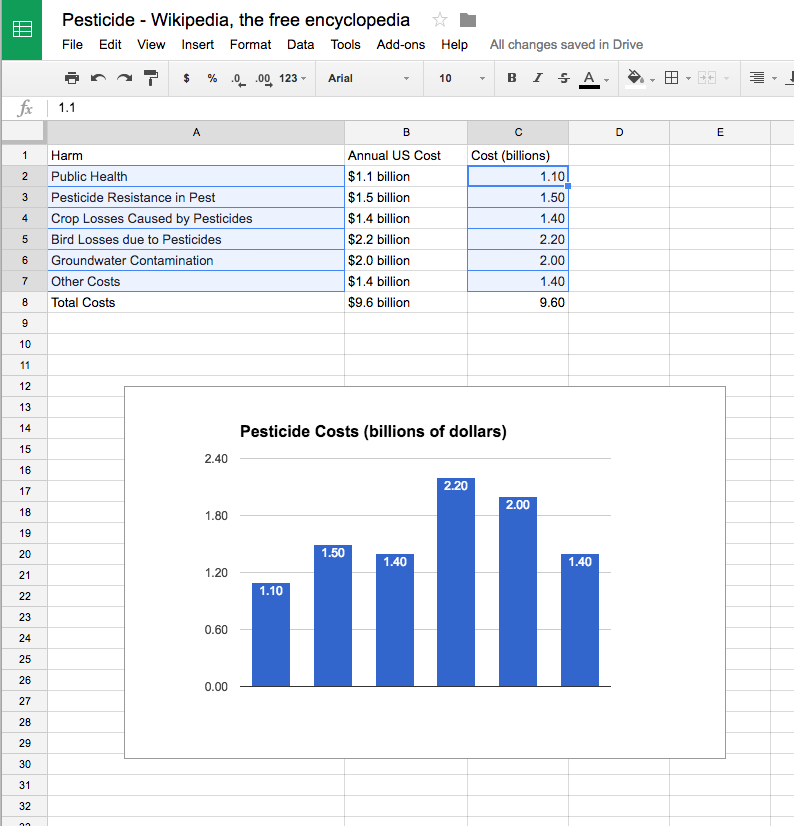
In this example the “Annual US Cost” column did not originally contain numerical values, so that we had to create a new column called “Cost (billions)” to contain the numeric cost values in billions of dollars. We then could use the new data column to produce a bar chart to insert into our research paper.
For web searching and citing sources, the Google Docs Research Tool is fine as far as it goes. However, it does have its limitations. It does not handle multiple citations well. The Research Tool also will not automatically reformat the in-text citations and bibliography of your paper if you decide to use a different citation style. It is also severely limited in the number of available citation styles. In fact, the Research Tool doesn’t even have different styles for in-text citations: all it does is footnotes. For the bibliography itself, the Google Docs Research Tool only has the MLA, APA, and Chicago styles.
To obtain some research-grade academic citation features, we need a more powerful reference management system. We can gain access to such a tool through the use of add-ons to Google Docs.
Google Docs Add-ons
One of the most powerful features of Google Docs is the ability to install add-on tools. We will examine ProQuest RefWorks, a reference management system provided by many colleges and universities, to show how to find, install, and use add-ons for Google Docs.
In Google Docs, click the Add-ons menu:
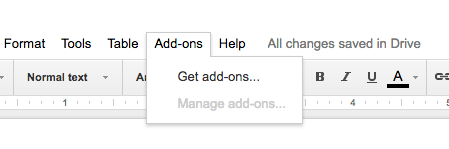
The Add-ons menu will show any add-ons you have installed. To install more add-ons, click Get add-ons… and you will be shown a searchable list of available third-party add-ons.

For this example, we will enter RefWorks in the search bar:
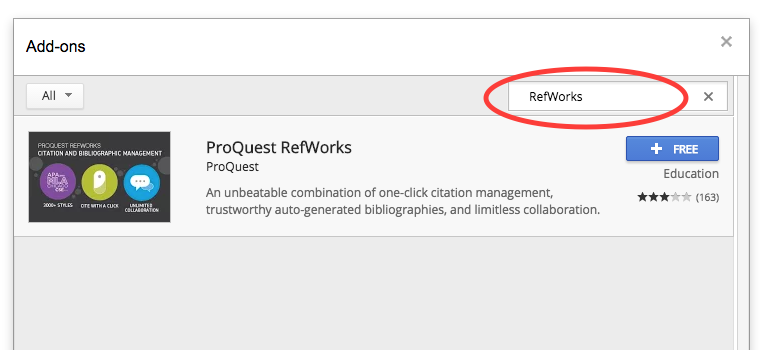
. . . which should find the entry for ProQuest RefWorks. Click the button to install the ProQuest RefWorks add-on to Google Docs. After granting the necessary permissions, you should now have an entry for ProQuest RefWorks in your Add-ons menu:

Next, click Manage citations, which will bring up the ProQuest RefWorks panel at the right-hand side of your browser window:
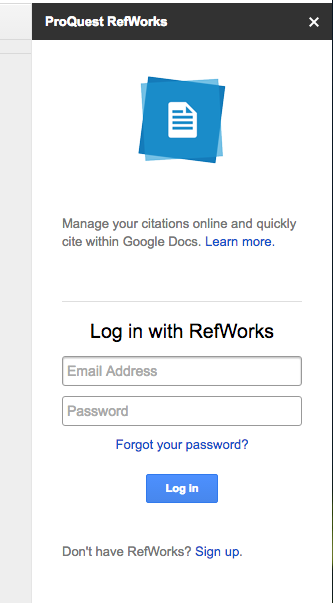
You need to log in with your RefWorks user name (email address) and password, which you set up when you opened your ProQuest RefWorks account. If your institution subscribes to ProQuest RefWorks, you can open an account by visiting refworks.proquest.com and clicking Create account.
A Digression
At this point, you may be asking: “What account?”
ProQuest RefWorks (“the New RefWorks”) is a web-based reference manager, which means it runs inside of your web browser. In order to use ProQuest RefWorks, you need to have an account, and in order to have an account, your academic institution has to have a ProQuest RefWorks subscription.
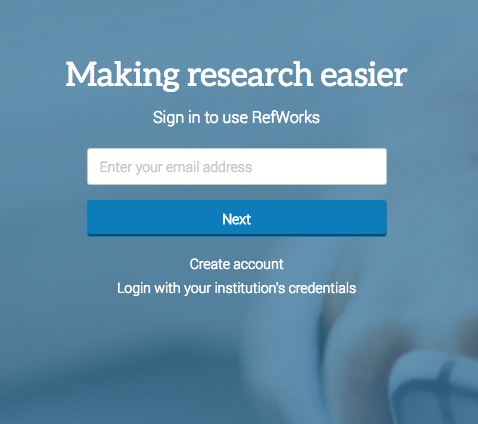
ProQuest RefWorks is called the “New RefWorks” because there is an “Old RefWorks.” ProQuest RefWorks lives at refworks.proquest.com and looks like this:
Old RefWorks lives at www.refworks.com and looks like this:
Because there are a lot of Old RefWorks users (what I meant to say was “users of Old RefWorks”), ProQuest is keeping Old RefWorks around for a while. Once you have set up an account in ProQuest RefWorks, you can import your references that are stored in the Old RefWorks as follows.
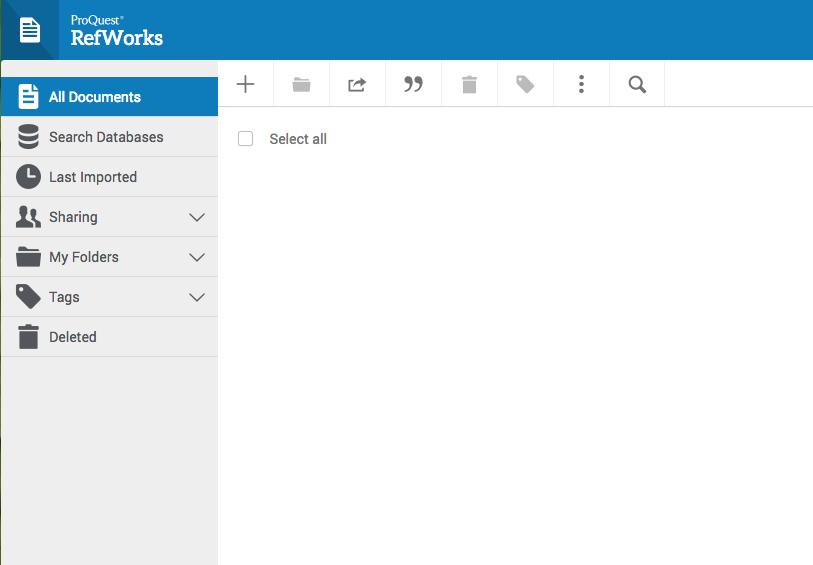
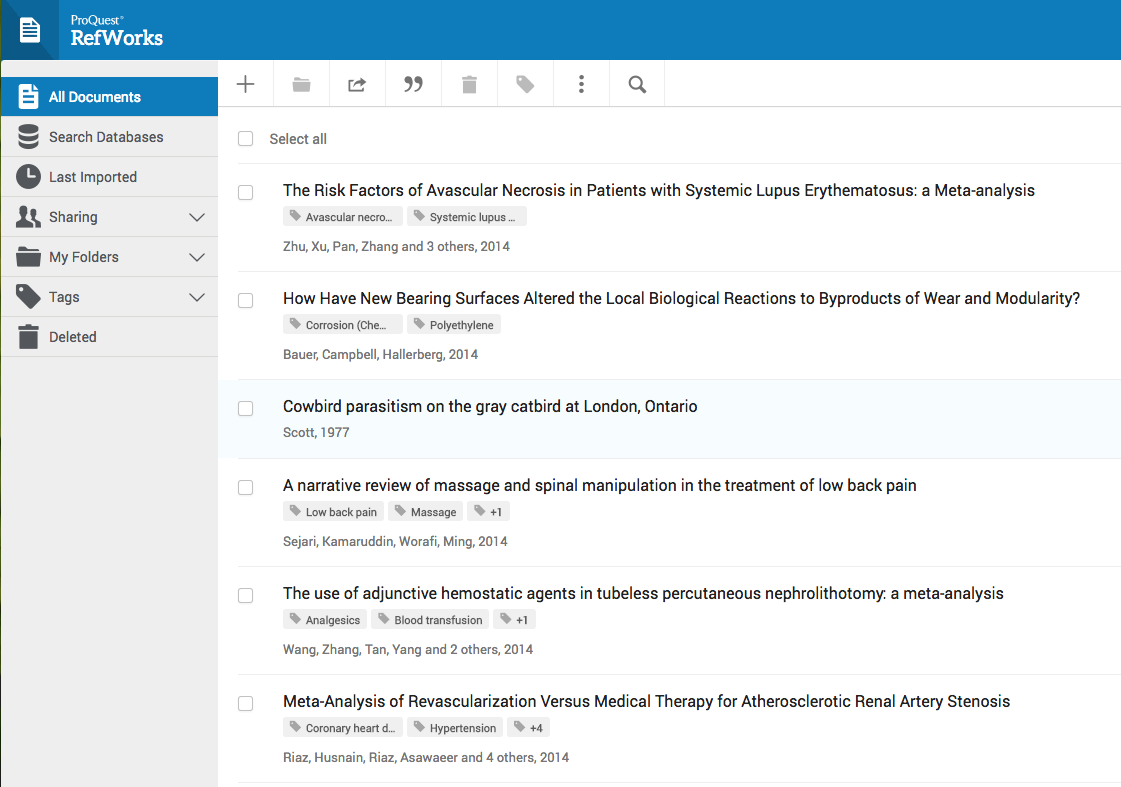
First, log in to your ProQuest RefWorks account. You will be brought to your home page, which will look something like this:
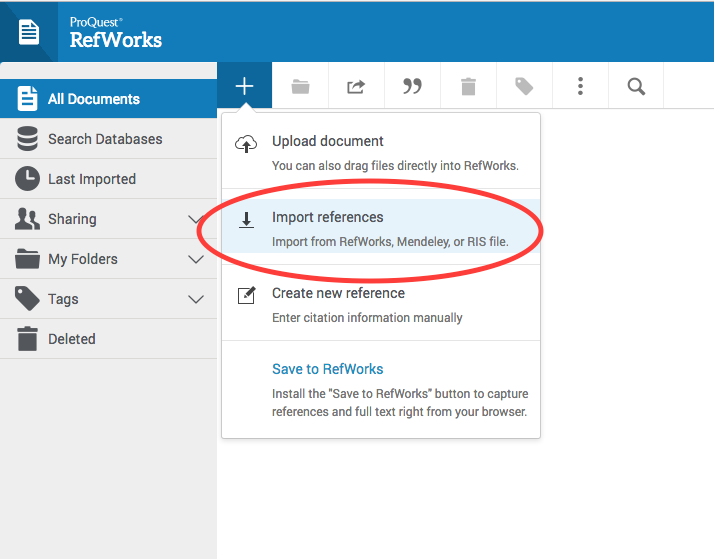
Click the plus sign to bring up the Add a reference dialog and then choose Import references:
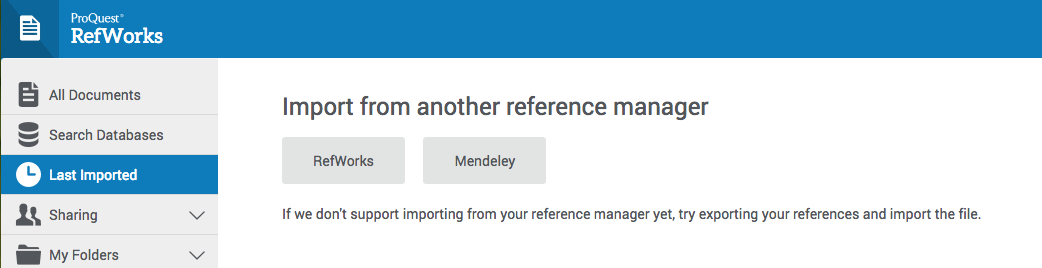
Under Import from another reference manager, choose RefWorks:
You will then be asked to authorize the import, and then you will be brought to the Old RefWorks login screen. Log in with your Old RefWorks credentials:
If the import is successful, you should then be returned to your ProQuest RefWorks home page with a list of the imported references:
Once you have some references in your ProQuest RefWorks account, they will show up in the Google Docs ProQuest RefWorks add-on when you sign in with your ProQuest RefWorks user name and password. You cannot add or delete references from the Google Docs add-on; you add and delete references from the ProQuest RefWorks web interface and then access that database from the add-on. Because this post is about the Google Docs ProQuest RefWorks add-on, we will not go into detail about use of the ProQuest RefWorks web interface. However, you can find more information about the ProQuest RefWorks web interface at Welcome to the New RefWorks.
One final point. In order to use the Google Docs ProQuest RefWorks add-on, you must use the Google Chrome web browser. While you can use Google Docs in other browsers, the various add-on tools only work in Chrome.
The ProQuest RefWorks Add-on
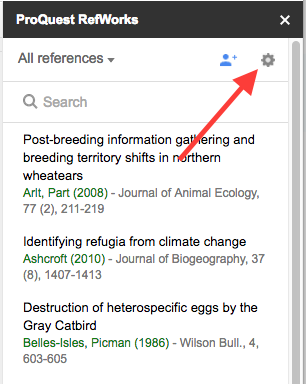
Back in Google Docs, and assuming that you have successfully logged in to your ProQuest RefWorks account, you should now see your list of references in the ProQuest RefWorks add-on:

The RefWorks add-on for Google Docs (I am now tired of typing “ProQuest RefWorks”) basically works like the Google Docs Research Tool, only better.
First, click the gear icon in the RefWorks panel to open the Settings dialog:
In the small popup menu, choose Change citation style:
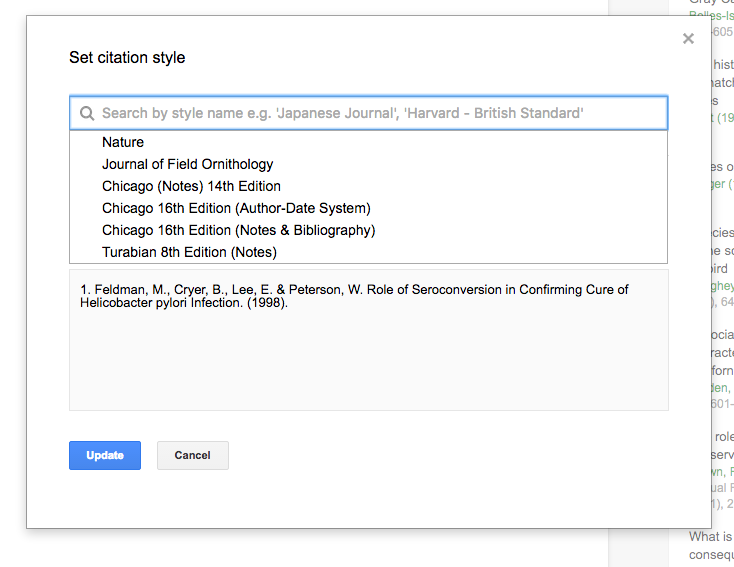
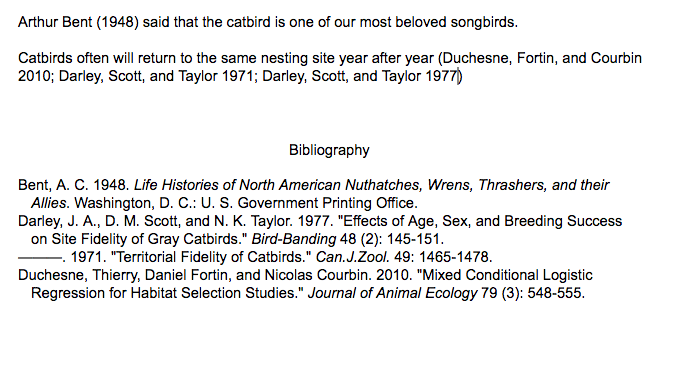
A window will appear showing the current citation style. If you click in the search bar, you will see a list of recently-used styles. Choose one of these styles, and then click the Update button to set that style as the current citation style for the document. In this example we have chosen the Chicago Manual of Style 16th Edition, which is an author-date citation style.
Now, as you are writing your research paper, place your cursor in the text where you want to insert a citation. If you then hover your mouse cursor over a reference in the RefWorks panel, you will have the option of either citing the reference, or first editing and then citing.
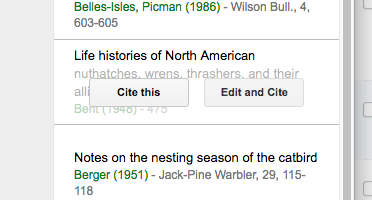
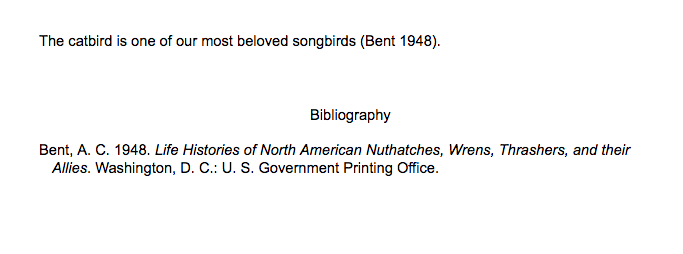
Choose Cite this. RefWorks will place an in-text citation at the cursor location and immediately start creating a formatted bibliography in your chosen style:
If you instead choose Edit and Cite, you can modify how the citation will appear before you insert it into the text:
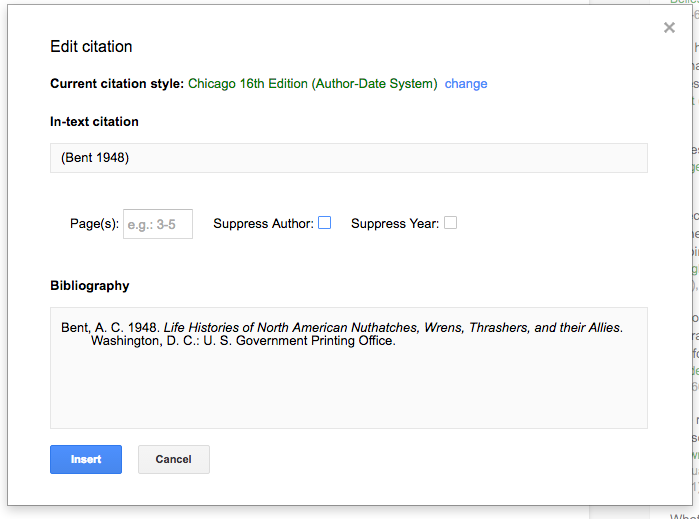
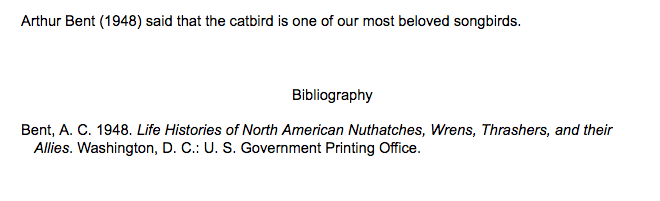
For example, you can suppress display of the author, so that your citation might now look like:
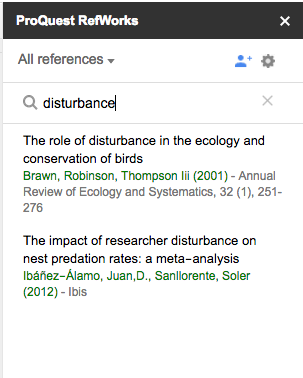
You can search for particular references by using the search bar in the RefWorks panel:
To cite multiple references at once, leave your cursor in place in the text while you click in the RefWorks panel to cite multiple references in succession. The references will be inserted at the same place in the text, and RefWorks will dynamically update the bibliography:
You can change the citation style of your paper by going back to the RefWorks add-on Settings menu. Choose Change citation style. You can choose from hundreds of citation styles (instead of just the 3 that the Google Docs Research Tool offers) by using the search bar. If for example you start typing “Journal of” in the search bar you will see that there are over 1200 styles that begin with “Journal of.” Search for and choose the style for the journal Nature, then click Update. The in-text citations and the bibliography will be immediately re-formatted to reflect the new style:
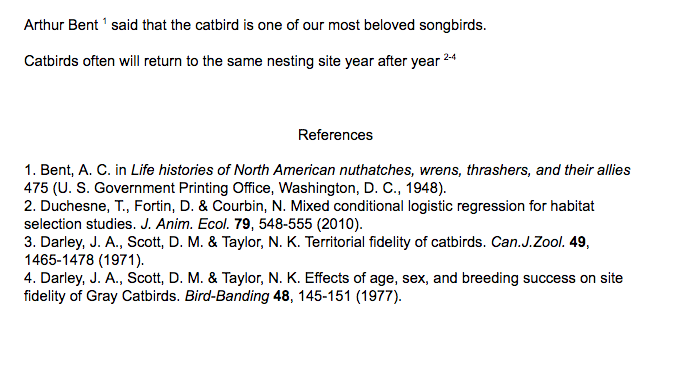
This is a very different bibliographic style from Chicago, because numbered superscripts are used in the text instead of the Chicago style’s author-date system. Also, in the bibliography, references are listed in citation order instead of being listed alphabetically by author. The RefWorks add-on can easily switch between citation styles and does a nice job of correctly formatting superscripts and author-date pairs in the text to cite multiple references.
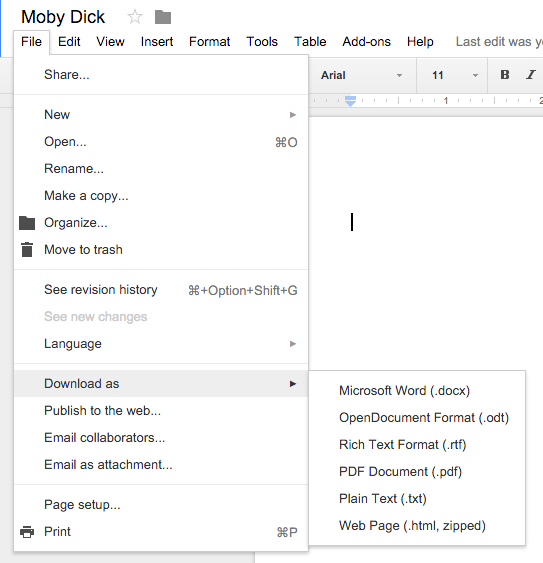
Once your paper is finished, you have the option of downloading it in several common document formats. In Google Docs, click the File menu, then hover over Download as. You will see several download options:
Your in-text citations and formatted bibliography will be preserved in the downloaded file.
You can share your Google document with collaborators by using the Share button. This lets you enter a list of names or email addresses for sharing the document. Share your Google Doc with anyone who has a RefWorks account and in addition to adding and editing text to your document, they can also add in-text citations and footnotes from their RefWorks account. You can even collaborate using the same set of references by sharing your RefWorks collection with your collaborators via the ProQuest RefWorks web interface. Anyone you share with can also delete in-text citations you’ve included in your document. However, they cannot delete references from your RefWorks account.
For more information on sharing with RefWorks see New RefWorks: Sharing and Collaborating.
There are also some free add-on reference managers for Google Docs, such as EasyBib and Paperpile. These can be found by searching for “citation managers” in the Get add-ons menu option:
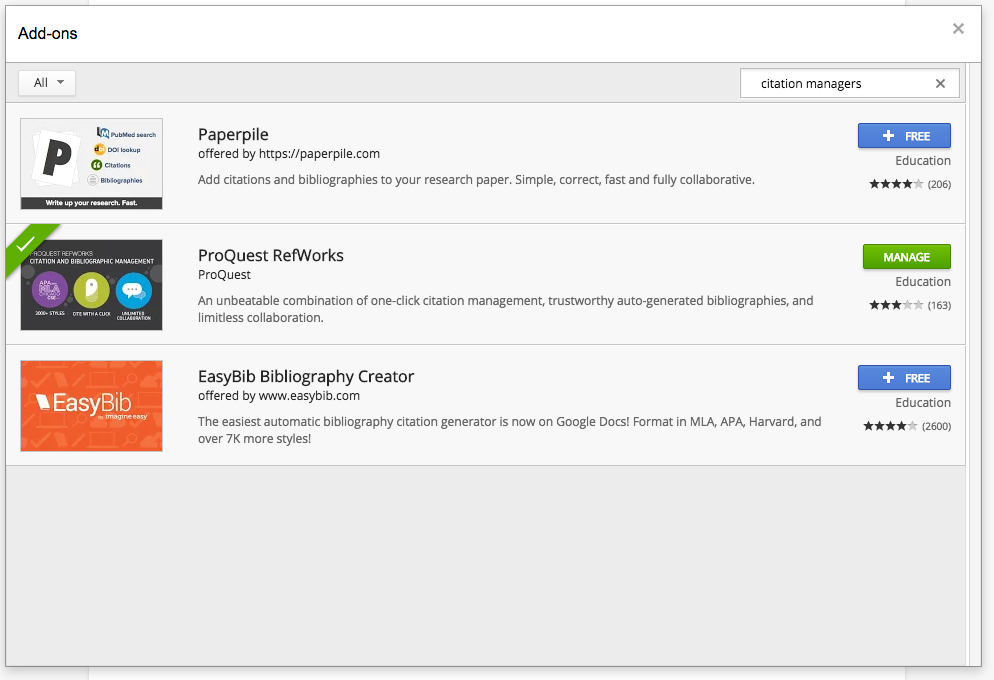
While the EasyBib and Paperpile add-ons are free, they usually also offer the option to purchase a subscription. The subscription buys you more features, such as the ability to import references from an external source. While not as powerful as a full-featured, commercial reference manager such as RefWorks, these free tools do allow you to search for references and create formatted bibliographies from inside of Google Docs.